How to Link NZBGet with Sonarr, Radarr, and Other Tools
NZBGet becomes significantly more powerful when paired with other automation tools like Sonarr, Radarr, Readarr, and Prowlarr. These applications handle search, scheduling, and renaming—while NZBGet focuses purely on downloading.
This guide shows you how to connect NZBGet with each major companion app and indexer manager.
General NZBGet Connection Settings
Most tools require these details to connect to NZBGet:
| Setting | Default Value |
|---|---|
| Hostname | localhost or 127.0.0.1 |
| Port | 6789 (NZBGet’s web port) |
| Username | nzbget |
| Password | tegbzn6789 (nzbget for SynoCommunity package) |
| URL Base | Leave empty unless using a reverse proxy |
| Category | Optional |
Tip: You can change your username and password for security in the NZBGet Web UI (Settings > Security > ControlUsername and ControlPassword).
Sonarr
Sonarr’s default Web UI port: 8989
- Open Sonarr Web UI > Settings > Download Clients
- Click “+” → Select NZBGet under Usenet
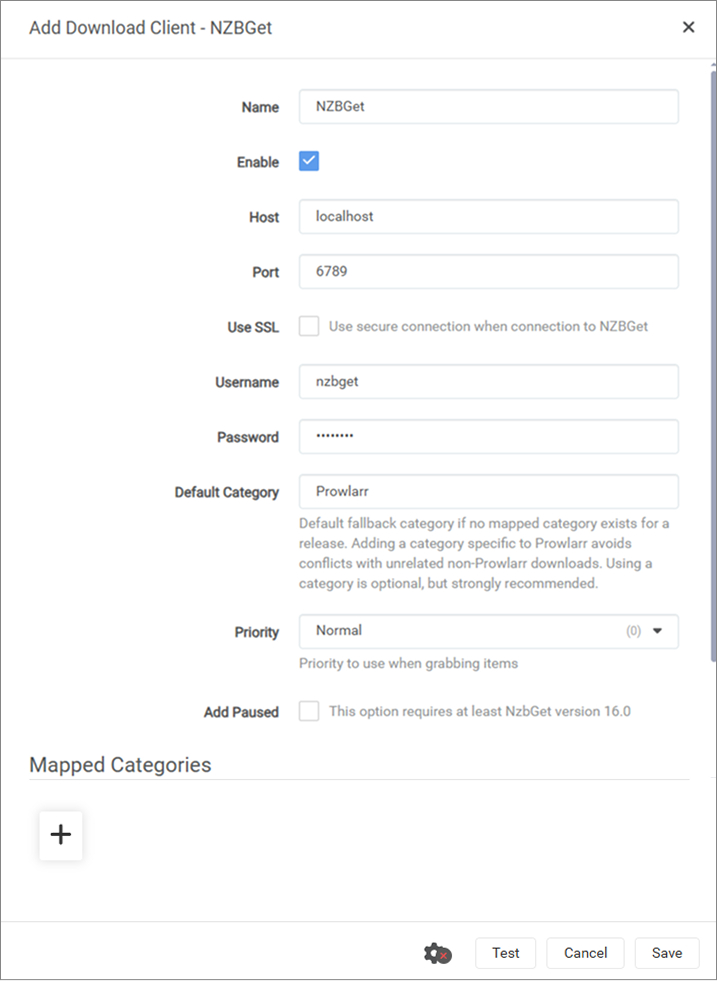
- Configure:
- Host: localhost
- Port: 6789
- Username/password: from NZBGet
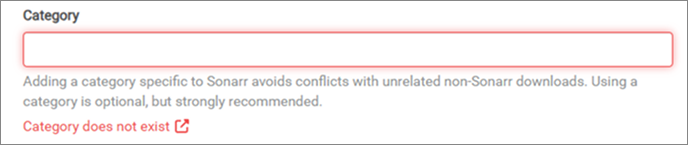
- Click Test → Sonarr will highlight field under the Category
- Open NZBGet Web UI in another tab > Settings > Categories > click “Add another Category” > add category “Sonarr” or whatever you prefer > click “Save all changes”
- Open tab with Sonarr “Add Download Client - NZBGet” > Click Test → then Save
Note: without steps 5 and 6, you will see the warning “Category does not exist”:
Radarr
Radarr’s default Web UI port: 7878
- Go to Radarr > Settings > Download Clients
- Click “+” → Choose NZBGet
- Fill in the same connection details as Sonarr
- Set Category
- Test and Save
Readarr
Default Readarr’s Web UI port: 8787
Readarr’s default category: Readarr
- Open Readarr’s Web UI. Navigate to Settings > Download Clients
- Click “+” → Choose NZBGet
- Configure:
- Name: NZBGet
- Host: localhost
- Port: 6789
- Username/password: from NZBGet
- Click Test - Readarr will highlight field under the Category
- Open NZBGet Web UI in another tab> Settings > Categories > click “Add another Category” > add category “Readarr” > click “Save all changes”
- Open tab with Readarr “Add Download Client - NZBGet” > Click Test → then Save
Lidarr
Lidarr’s default Web UI port: 8686
- Go to Lidarr > Settings > Download Clients
- Click “+” → Choose NZBGet
- Fill in the same connection details as Sonarr
- Set Category
- Test and Save
NZBHydra2
NZBHydra2’s default Web UI port: 5076
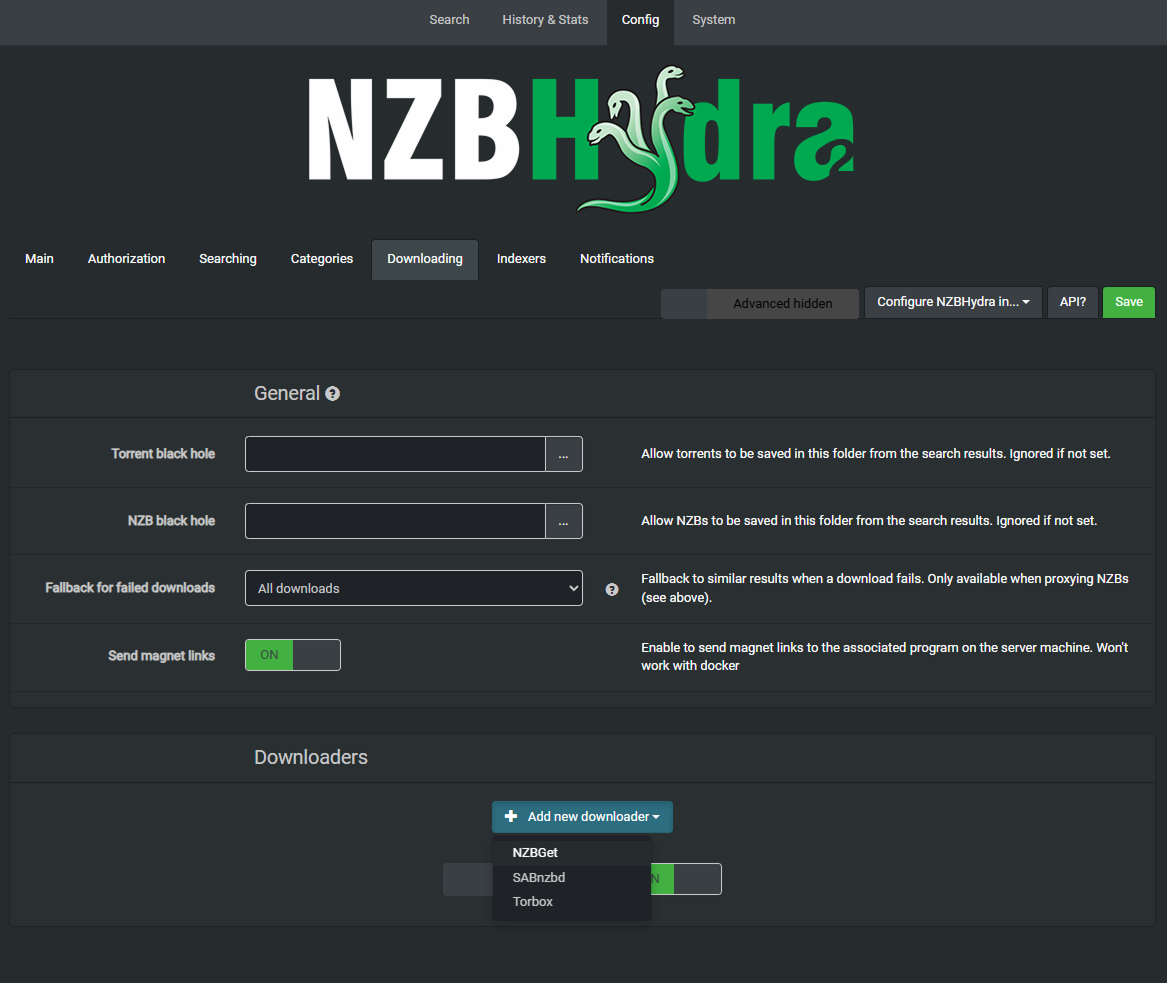
- In NZBHydra2 Web UI, go to Config > Downloading > click “+ Add new downloader” > select NZBGet
- NZBGet must be launched
- Click “Submit”
- Click “Save”
Note: Field URL is prefilled with default nzbget credentialshttp://nzbget:tegbzn6789@localhost:6789
Prowlarr
Prowlarr manages indexers for Sonarr, Radarr, etc.
Prowlarr’s default Web UI port: 9696
Prowlarr’s default category: Prowlarr
- In Prowlarr, go to Settings > Download Clients
- Add NZBGet with correct credentials and port
- Assign tags if used
- Save and let Prowlarr auto-sync with other apps
Note: Requires matching category, which needs to be added in NZBGet
Bazarr
Bazarr doesn’t connect directly to NZBGet but relies on Sonarr/Radarr to manage transfers. Just make sure NZBGet is linked correctly to those apps.
Bazarr’s default Web UI port: 6767
- In Bazarr > Settings > Sonarr/Radarr, confirm connection to those tools. Your Sonarr/Radarr API key will be needed.
- Bazarr reads download state and triggers searches automatically
Mylar3
Mylar3’s default Web UI port: 6767
- In Mylar3, go to Settings > Download Clients
- Choose NZBGet
- Input host, port, user/pass
- Set Category
- Test and Save
Whisparr
- Open Whisparr > Settings > Download Clients
- Add NZBGet with your credentials
- Set Category
- Save after testing
FlareSolverr
FlareSolverr is not a downloader but used to bypass Cloudflare for indexers like Prowlarr/NZBHydra2.
FlareSolver’s default Web UI port: 8191
- Set up FlareSolverr on port 8191 (default)
- In Prowlarr > Indexers, configure indexers that require Cloudflare bypass to use it
- Prowlarr will handle requests; NZBGet still does the downloading
Final Tips
- Keep your categories consistent across all tools and NZBGet
- Use SSL connections to protect traffic between indexers and NZBGet
- Regularly test connections after updates
- Use Prowlarr to manage indexers centrally
Introduction
Installation manuals
- Installation on Windows
- Installation on Windows via WinGet
- Installation on macOS
- Installation on macOS via Homebrew
- Installation on Linux
- Installation on Docker
- Installation on Docker - LinuxServer.io version
- Installation on Android
- Installation on Synology
- Installation on QNAP
- Installation on other NAS devices
Building manuals
Configuration
- Backup And Restore Settings
- Performance Tips
- Choosing Cipher
- Behind Other Web Server
- TLS certificate verification
- What is the Default NZBGet Password?
- NZBGet Docker Setup Guide
- NZBGet Port Settings and Access Guide
- How to Configure NZBGet: Complete Setup Guide
- What Is Usenet?
- NZBGet 502 Error: Quick Fix Guide
- How to Upgrade from NZBGet v21.1 to the Latest NZBGet Version
- Slow NZBGet Speeds? Here’s How to Fix It
- NZBGet Performance Optimization Guide
- NZBGet Path and Folder Structure Guide
- How to Link NZBGet with Sonarr, Radarr, and Other Tools
- Sonarr vs VideoSort: How They Work with NZBGet
- NZBGet Storage Guide: Improve Performance with Smarter Path Setup
- How to Configure NZBGet on Android TV
- Using NZBGet with Sonarr and Radarr on Android TV
Usage
- Quick Filter
- Keyboard Shortcuts
- RSS and duplicate check
- VideoSort
- Console Mode
- Command Line Reference
- Performing Speed Tests
- NZBGet Interface Buttons Explained: What They Do and How to Use Them
- How to Use the NZBGet Status Tab
Development
Extensions
- Extension Scripts
- Post-processing scripts
- Scan Scripts
- Queue Scripts
- Scheduler Scripts
- Feed Scripts
- NZBGet Extension Manager: What It Is and How to Use It
- API reference
News server setup
- Astraweb
- BlockNews
- Cheapnews
- EasyNews
- Eweka
- FreeDiscussions
- Frugal Usenet
- GigaNews
- NewsDemon
- Newsgroup Ninja
- NewsgroupDirect
- Newshosting
- Pure Usenet
- SunnyUsenet
- Supernews
- theCubeNet
- ThunderNews
- TweakNews
- Usenet.Farm
- UsenetExpress
- UsenetServer
- UseNext
- ViperNews
- XLned
- XS News